Pages

Showing posts with label vintage style. Show all posts

Thursday, 19 April 2018

Sewing and Pattern Hacking with Vintage cloth

I have a hazy memory of being six years old, standing in a neighbours sitting room and loving the chintzy big florals covering all of the chairs and the curtains. How different it was to our modern 1970's home with it's green and browns. I didn't know it then, but I'm sure looking back that this was the exact moment my love of floral vintage cloth was born.

I get utterly giddy at the thought of a vintage market where who knows what hidden cloth treasures I might find. To be honest I love a rootle about looking for anything that catches my eye, but finding the cloth that makes me go ooohhh is my first thought. 

As I make a lot of my frocks and tops from vintage cloth I thought you might be interested to hear my thoughts on using it in dressmaking as it's very different to buying the exact amount you need in modern cloth. 


I've also got my latest frock to show you that I made from the most delicious green and red vintage cotton from a strip off the edge of a French bedspread.


When I find a piece of vintage cloth that I utterly love I weigh up what I can make from it. Each piece I buy is most often a one off and pre-cut, it might have had a life as something else such as curtains or a bedspread, if so that's great because that means a lot of cloth. Very occasionally the dealer has found a bolt of cloth and then it's like being utterly spoilt because I can buy exact amount I need. All the same you'll generally find you need more cloth you do with wider modern cloth though as vintage  is narrower. Finding the cloth type and print that makes you go giddy is one thing, but then you have to cast aside what you might want to make from it and consider what you can make from the amount you have.  

I was lucky enough with this fabulous cloth to find two pieces almost two years apart. I bought the first piece online from Tanya who sells as Pommedejour.  The first piece was incredibly narrow and I only had a very small amount. All the same I loved it so much and was determined I'd be able squeeze a top out of it which I made a couple of summers ago now.
I had a good think and did a bit of problem solving before I cut anything. I decided I could just about get a Sleeveless Simplicity 1467 Top from it if I did a bit of careful pattern matching at the front. The fabric was too narrow to cut the front on the fold, but by cutting two pieces and adding in a seam allowance, plus pattern matching, I managed to make a front piece.. With not much cloth left I decided to make the neck band from the main cloth and then chose a modern green cotton to make the back of the top. After checking this would work out before I cut into the cloth, because I seriously didn't want that bloody hell moment when there's not enough to make the top, but it was already hacked up and no good for much other than patchwork, I got cutting.

I was totally thrilled with the end result, this top has been a great one to wear with shorts in the summer.

All the same I kept thinking how much I wished it had been a bigger piece as I'd have loved a frock made in this fabric.

Fast forward to the Festival of Fabric in October 2017 and can you believe it, I found enough of the same cloth to make a frock. This one actually, which I made this week. Yup, I sat on the cloth for months, well other cloth sat on it in the cupboard if we're going to be precise here. I couldn't decide what shape frock I wanted to make it up into so I left it there while I ruminated.


Last Summer I fell head over heels in love with the Rita Blouse from Gretchen Hirst's Charm Patterns. So much so, that I've made five already.  I've talked about making these tops before and then the pattern hack I did to turn the blouse into a wiggle dress in a previous post so I know you've seen them before. Well, I finally decided this cloth would look great as a girly fuller skirted summer frock with a Rita bodice. I love to pattern hack frocks as much as I love vintage cloth to be honest. I know what shape I want so I much prefer to mix up patterns to create the style I dream of.
That said, I was back to the issue of narrower cloth and having to make a shape that worked with the amount of cloth I had.  I wanted a fuller skirt, but as there wasn't enough width or length to cut on the bias, I chose to make a gathered skirt from the Emery Dress pattern by Christine Haynes. 

I've made three Emery's for my Millie now. Two with collars and sleeves and this most recent sleeveless version. It has pockets too, which is always a big plus for us collectors of feather, shells and stones.


If there was a bit more width I could have made a box pleated skirt. It's about working with what you have and getting the best match. I really enjoy this part though, starting off with a plan and then having to adapt and come up with solutions depending on what I can get from the cloth. 

Before I cut the pattern out, I checked that I could get all the pieces from the amount I had. 

With a bit of careful folding and adjusting I knew I could fit all of the pieces on the cloth except all of the sleeves. Well the sleeves mainly fitted, but the pattern hung over the side of the cloth on both sides. Problem solved by cutting them shorter where they landed on the cloth and then sewing strips in to to each underarm side to lengthen them. No one's going to see these unless I take to walking about doing a permanent Mexican Wave, but they don't look dreadful either so all good and problem solved. 


As with most vintage cloth there wasn't enough to have the luxury of pattern matching, I find I'm just grateful if I can get a garment from it. Sometimes of course you might score well and can make the most perfectly pattern matched frock of your dreams, but it really doesn't matter so much to me.

Now having run out of cloth I had to make the pockets from a contrasting cloth. By using the vintage cloth you do have to make the main pieces of a garment, you can then make a feature of other areas that in the main are hidden by using a contrasting cloth. I tend to use polk dot cotton every time as I think this works perfectly with florals. Facings, pockets, sleeves or even contrasting the bodice and skirt in another cloth really makes the garment even more individual and gives it a lovely finishing touch.

The Emery Dress has a back zip, but the Rita Blouse has a side zip. I personally prefer using a side zip because I don't have to make any sway back alterations which I have to do with a back zip. Side zip option chosen I then had to think around the pocket feature. I machine stitched the zip in a bit of the way down top and bottom joining all layers to the zip and then handstitched the pocket layer to the zip so it was still a working pocket. These are my basting stitches just in case you're wondering.


Now with all issues sorted, or so I thought, I tried the dress on with the basted zip. The bodice had fitted perfectly on it's own but attached to the skirt it was now four inches too wide at the waist and looked saggy and baggy. Some serious seam ripping then occurred so I could make the alterations. Some time later, which was early the next morning, I finished my Rita/Emery pattern hack frock and was absolutely thrilled with my new ready for the summer frock.


Totally thrilled to be honest. 

All the same I'm already cutting out my next project because my fingers always itch to sew.

Monday, 18 September 2017

New convert to the Overall

Before I continue with my sewing catchup I thought I'd share with you my latest and most exciting make, one that I've worn every day since I finished the stitchery.  I'd seen various instagrammer and blog sewers sporting their versions of The Wearing History Overalls and loved them instantly. I queried am I too old, will I look an idiot, will I feel like an idiot wearing them? That's the problem with the memory I have of my cousin and her boyfriend in matching 1970's brown cord dungarees, they totally put me off one piece trouser anything, but I'm being won over. I thought these fit my love of the 1940's as Lauren has taken them from an original pattern of the period and updated it. I also fell for the fact that they show off your figure and have that gorgeous heart shaped front bodice. 

So I knew I had to have a pair and pressed buy on the digital download button. That way I had the pattern instantly to use, well after cutting and taping of course. As soon as I'd bought them, we all got struck down with the Novovirus so we had to write off the last week of the summer holidays totally. The first week back to school for Millie and for Rosey starting Sixth form was super busy and then finally I had my moment. I made my pattern up and then my lovely man gave me the money to buy the denim.


I was even most well behaved and washed the cloth first. I know you should do this each and every time, but I'm sometimes impatient and just get on with the whole making process.


Then I did something I never ever do. I actually made a Toile. Most definitely not a wearable toile because there's no way I'm going out in public in thin see through floral bedsheet overalls. 
Making the Toile helped me check lots of fitting issues I thought I might have being as I'm 6ft with a longish torso and my bust is a few dress sizes up on my body. I knew I'd have to lengthen the legs but actually this was only by a smidgen, the rise definitely needed lengthening as they were a bit high in the crotch and the straps needed lengthening slightly. Everything else fitted well so all good there I thought.


Once I'd made the Overalls up in the stretch denim I'd chosen I did have to do a few more alterations as this cloth handles very differently to thin cotton. As I wanted a fitted shape at the bust and waist I took in the underbust darts another inch on both. That meant I had to unpick the waistband I'd so neatly topstitched in place so I could move that along too. I'm so glad I did because I got the look I was after once all that was done.


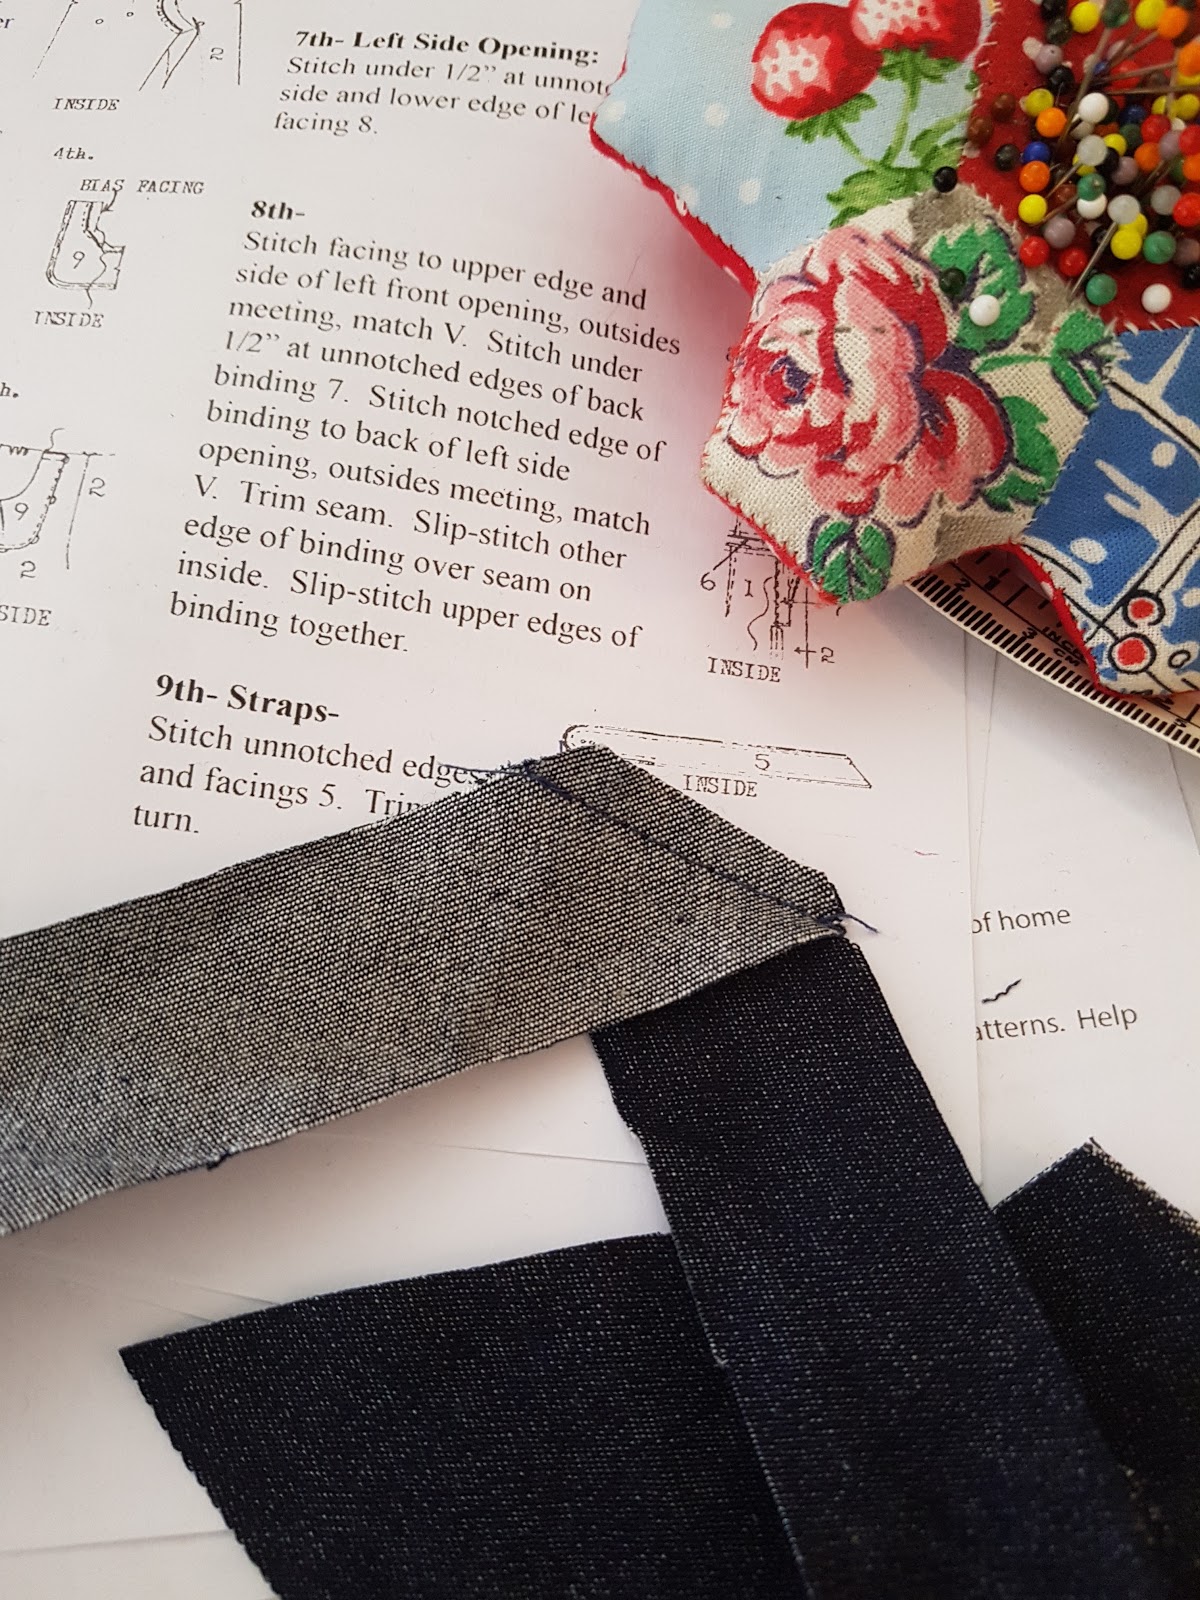
To neatly edge top of the front and back bodice I made up some bias binding from the denim and that rolled along nicely by mitrering into each of the V points


I'm amazed by how straightforward these were to make as they look quite complicated, but don't let that put you off. I cut the pattern out the night before, had a bit of late night sewing and then finished them the next day. Luckily my mum was coming over for lunch so I asked her to buy me the buttons I'd totally forgotten to get. 

That was on Friday and first thing on Saturday I popped them on. From the moment I wore them I felt utterly comfortable and good in how they looked.  


I love the big button design over a placket to do them up, but when I needed a wee they certainly weren't quick to get out of, so best to get there before I'm desperately hopping from foot to foot, A friend put a zip in hers for this reason and I think if I make another pair then thats what I'll do too. 


The other super cute part of this pattern are the wide straps that cross over at the back. 


I wore them first over a 1950's blouse I'd made, then a t-shirt, but both with different cardi's for warmth and then in the evening opted for wearing them on their own which gives a nice bit of cleavage to make them a tiny bit more dressy. They look great with converse, brogues and boots too so they're really easy to mix and match.

Have you guessed that I'm really in love with this make. 

Overalls - Wearing History Pack B size 20 
2.5m stretch denim and Six buttons.

Tuesday, 12 September 2017

Sew Hello

Right O', I'm jumping back on this here blog again. 

I've missed writing in my little space to talk. Ever since all of the changes of the past few years I just lost my blogging mojo and with this life changing so has the focus of what I want to chat about and show you.  I'm still as creative as ever, probably far more so, but the focus has switched very much to my dressmaking adventures and that's what I'll be focusing on here from now on, along with all the usual chat about stuff in general.

Over the past two, nearly three years since being made redundant from education I've had the luxury of more time to sew and I've been using that time most productively. You could almost say bordering on obsessive. What I would give to have an endless supply of all the fabrics and patterns I'd like to work with. But hey ho, patience Lisa, you'll get to them one day. So I've been busily stitching away for myself, for my loved ones and for my lovely customers. 

I've decided the best start would be to show you many of the clothes I've completed since I last posted and then I will start writing in more detail about just one thing. That's my plan. I've five posts all ready and waiting to go. Steadily, one at a time.


      The Celine Bodice and Sophia Skirt from Boundless Style by Kristiann Boos at Victory  
                                                                      Patterns.


My first frock is a late winter make from earlier this year in a soft tartan.
The patterns in this book are downloaded from a CD ready to print so there is the cutting and sticking element involved. I've bought quite a few digital patterns now from New Zealand and American designers rather then wait an age for the postage and after the first few it doesn't feel like too much of a chore putting all those pieces of paper together. If you're impatient like me to get your hands on a pattern then I think it's a blooming marvellous invention. 

The book is split into sections for a choice of bodices, sleeves and skirts so you have the freedom to choose how you'll put your frock shapes together. To be honest I mix and match patterns hacking them together all the time these days. Often I don't like the skirt in the pattern, just the featured bodice so it means I can get exactly the shape I want.

The darts on the Celine bodice and the Sophia skirt are one of my favourite features in this frock. The bust darts radiate out from the keyhole and the skirt darts follow this same angle. This bust dart feature means I don't have to do a Full Bust Adjustment which is normally essential having a upper bust which is two sizes down from my actual boobage. I've still not worn this frock, although I love it. It got put away on the WIP pile as I need to bring the zip in as it's a bit too big then hopefully it will get plenty of outings this season.

My next make was a request from Millie for trousers for her GCSE Textiles trip to the Cambridge Botanical Gardens.

She described the shape she was after, then we went fabric shopping and she chose a lightweight jersey which has a lovely drape to it. 

We drafted up a pattern taking into account the fact that as we're all tall it's not just about lengthening the legs, but the front and back rise too.

This was all a bit last minute so I ended up sewing it up on Mother's Day for her to wear the next day.  Luckily they worked out exactly as she had planned in her mind and she was thrilled with them.


Unbeknown to Millie I was working on a couple of makes for her upcoming 15th birthday at the same time. She'd said she loved the Mary Dress when she saw it in a magazine and as she likes completely different fabric patterns to me I knew I would be safe with the choice of a black and white frock for her.


I opted for solid fabric sleeves for her version and lengthened the arms while I was at it. 
This was a beautiful dress to make in a lightweight wool, the only difficult part was the curved yoke on the bodice which meant lots of pinning and slow and steady stitching to get it laying perfectly.

She's worn this a few times already as she loved it.

I also made her a blouse in a flamingo print rayon. I'd made this pattern up for myself and as she had loved the shape I knew it would be another suprise winner.


I made mine up in a vintage fabric using a 1970's pattern I found in the charity shop. I altered the sleeves from floaty balloons to cap sleeves which suit me far more. I think it has more of a 1930's shape now which I far prefer.


Shirt making for my love still continues. This is the last shirt he requested in a plain black and now he would like a black waistcoat to go with it. I've made him a waistcoat already which I'll show you in my upcoming posts.


My final two makes for today are a blouse and a frock from the same pattern in Gertie Sews Vintage Casual. I absolutely love Gretschen Hirst's designs. She totally nails it with vintage style and fun in my opinion.


I'd been searching high and low for a pattern for a blouse with a rever collar. I tried a few, but they didn't work out how I hoped, then I saw this one in my much thumbed book. Not sure why I'd missed it before, but luckily I spotted it in the end.

I love clothes that are figure hugging and fit with my love of vintage styles from the 30's to the 60's. For this blouse I used a contemporary anchor print fabric that I'd bought to make a man's shirt. Instead it became a lady blouse. 

Sailor Blouse - Gertie Sews Vintage Casual


This pattern is created from a dress bodice with the additions of a peplum and a lot of button loops to the front. I wish I'd mentioned it to my costumier pal beforehand as she gave me a great tip afterwards for making sure they don't slip and slide when sewing them all in place. Hey ho, I know for next time, if there is one.

As I loved the shape of the bodice so much I decided to make the full blown frock up too. 
I didn't buy any fabric specifically for this, I just used some charity shop cloth that had been hiding in my cupboard a while.


This dress has some really interesting features, piping on the sleeves, a waist stay which I'd not sewn before and the fabulous front zip which makes me feel all retro naughty nurse.


Zip Front Dress - Gertie Sews Vintage Casual


This is a great shape and fabulous to wear, but the fabric puts me off slightly so I guess I'll be making this one up again in something cheerier. That's after the long list of other makes I already have in my head.

I've so many other projects to share with you before I'm all caught up and then I plan to start talking in more detail about each of the projects I'm working on if you'd be interested.

Until then. Tatty bye.

Me Made May 2018

This month I'm taking part in Me Made May, hosted by Zoe of  Sozowhatdoyouknow.blogspot.com .  Oh and if you head on over to her blog y...